The process for getting back into some traction modelling has been going on for over a year, but I feel that the time is getting close for starting construction.
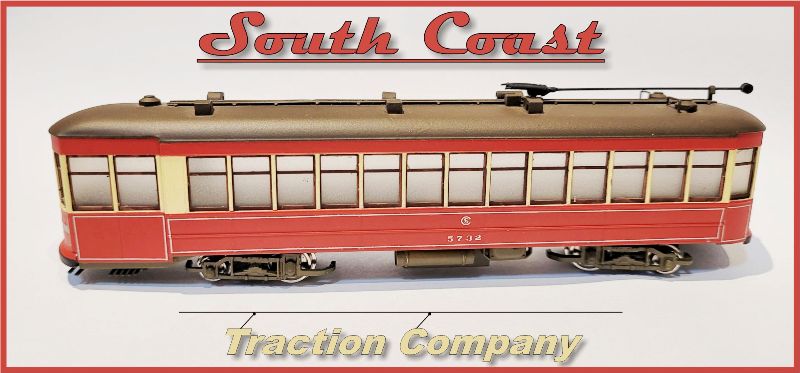
Over this time I have been collecting the many items required. The traction fleet is ready and the whole fleet is currently elsewhere having brains (decoders) inserted so that I don't have to spend forever flipping switches if it was being run on DC. This was how my first layout was set up but as I was the main (only) driver switch flipping wasn't a concern.
I also have a collection of buildings, mostly ones that I will need some time to assemble. I have managed a few second hand ones that can be placed directly onto the baseboard. Then I have a selection of brass poles as well as the overhead hardware - the frogs and wire hangers which have been sourced from the USA as that is the only location I know where you can still obtain them. The postage is way more than I expected but this is the only way to obtain them. So everything is ready to go.
Last week I finally arranged delivery of a 2400 x 1200mm plywood for the baseboard. I managed to get it down to the shed and took it down 'my' end. I am progressively adding carpet tiles to the floor and most of the first batch obtained has now been laid. To finish off the entire shed I reckon I will need around forty five more which will allow a complete wall to wall to finish. I could have omitted to lay under the baseboards but in the future it will be good to have it all carpeted.
Way back in Post #2 I showed a concept plan that I had come up with that I had hoped would fit onto the 8' x 4' board. I showed the proposed track in a thicker line than just using a pencil thickness line which in real life doesn't work. The plan looks busy and in Post #2 I nominated some features that I wanted to incorporate into the layout:
- Double track in roadway
- single track in roadway
- reserved track
- a crossing loop in the reserved track
- a combination of single and double arm trolley poles
- a depot/trolley barn
- a balloon loop
- reversing loop for single poled trams
- a freight track and building
- a run through passenger terminal
- and try to incorporate a few grades so it is not all flat
 |
| Concept plan |
I liked the plan that I drew up and then need to translate it from paper to the actual baseboard. A lot of the plans that I see on traction layouts are very simple ones and have mostly straight line that runs parallel to the edge and are mainly boring. I had to try harder to get some interesting working brought into the final design to save from the boredom. It needed to be a few steps up from those people who make micro layouts - operation status 0 out of 10. After you have built the circle of track you can only sit there and watch it run round and round. I previously had an On30 narrow gauge layout that filled the shed and the operation possibilities were endless with so many variations. So I am trying to get this ideal into the design.So eager to see how this proposed sketch would translate onto the baseboard top, I managed to place the board over the junk underneath (still a bit more to get rid of) and then go into what I call 'dry planning' That is where you place structures, track, buildings, cars etc etc onto the board to see how it shapes up.
 |
| There is a similarity to the plan |
Looking at the above photo there is some resemblance to the plan. There are some that might claim it is the proverbial spaghetti bowl a term that is often used when a modeller crams track into every square inch on the baseboard. I don't apologise if it looks like that as I won't sacrifice looks for operation. In the bottom right corner is a crossing loop that will give some operation in having to do a cross, it would be a nice feature to have operating crossing loop signals, but thats a long way away.The fly in the ointment with this layout design has been the purchase of the Con Cor Electroliner four car set. It has a minimum radius of around ten inch radius curves so if I want to get some operation from the set the layout has to use the ten inch radius minimum. The above photo shows some paper templates I printed out utilising the 10" radius curves. Even using this radius will allow the proposed design to be incorporated with some minor tweeking here and there. The big shoe box represents the location of the car barn and will only be four roads containing two trollies under cover. To the top of the box you can make out another open road and this will be long enough to hold the 544mm Electroliner in clear of other roads. The other grey building is a temporary lend of the HO layouts diesel shed to represent the terminal building that will be located there.
In the past I have said that coming back to HO scale from O scale takes a while to get the brain to re-adjust again to sizing. A good example was when I was wondering how wide to make the roads in HO. I was only guessing when I laid out the ice cream sticks to represent the gutters. The road looked wide but then I remembered I had purchased a few HO cars for the layout. Yes I had purchased a black ute, a good pick up I thought. I already had an O scale similar truck and took the following photo:
 |
| O scale and HO comparison. |
I am not sure that the O scale pickup is actually 1:48 scale but shows the vast differences. I will do some more research on road widths when the track planning gets serious.Another issue yet to be tackled is the track. It will be a combination of ready to run and hand laid track. I will be trying to use code 75 track as I have plenty of rail left over from the previous HO layout. I have also obtained some Peco set track points. They have a very tight radius suitable for the depot fan but it is Code 100 track, you can't get the same tight radius in Code 75. The street trackage will be laid directly onto the baseboard and covered in to represent the various types of road surfaces.
 |
| Proposed depot entrance tracks |
One further addition I will make is to tack on some extra baseboard and make the width 1300mm instead of 1200mm and either 100mm or 200mm to the length. At this stage I had only concentrated on laying out the depot end of the board and if all goes well I might only need the 100mm on the end, time will tell.Now the sad part is that all items I have placed on the board have to come off as there is no framing yet done. More carpet tiles to be sourced to finish off the floor, then the frame up will begin. So as you can see - progress (finally)